 lameuplay
7 Easy Steps to Use Your Customer List for Creating Custom Audiences on Facebook
Advertisement
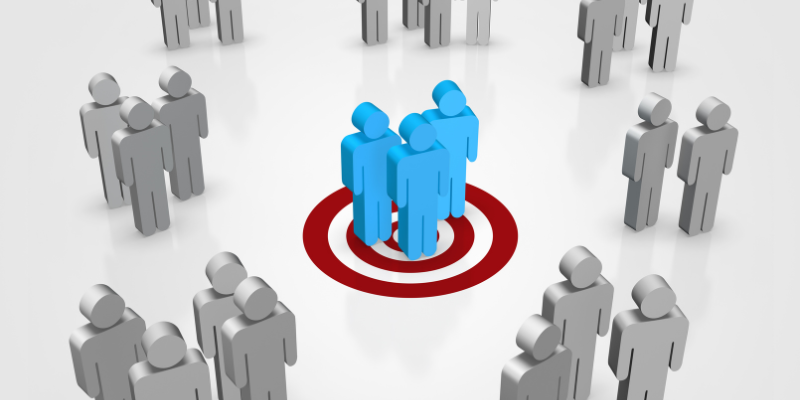
Running ads on Facebook without targeting the right people is like shouting into the wind. But you're sitting on a goldmine if you already have a customer list—emails, phone numbers, or app users. With Facebook's Custom Audiences feature, you can quickly upload this list and deliver ads directly to those already familiar with your brand. This is probably one of the best ways to improve conversion rates while lowering ad spend. This article will walk you through a simple seven-step process to apply the use of your customer list and drive better Facebook advertising results without any serious marketing skills.
Prepare Your Customer List for Upload
For uploading to Facebook, ensure that the data in your list is clean and well-formatted. This means arranging customer information in a spreadsheet with only one piece of data per column-such as email addresses, phone numbers, or even names. Facebook accepts CSV or TXT file formats for Importing lists. So, export your customers' database in either of these two formats. Delete duplicate entries; another beneficial practice would be to get rid of typos and set proper headers in a file. Clean data increases the chances for Facebook to match your entries with real profiles, which means the better the match rate, the better the quality of targeting your audience; this should be considered the foundation for your success.
Go to Facebook Ads Manager and Select Audiences
To begin building your custom audience, visit Facebook Ads Manager. Click on the left-hand menu, then "Audiences." Here, you can manage all of your custom and saved audiences. Click on "Create Audience" and select "Custom Audience." Facebook will prompt you with several options to choose the source of your audience. In our case, you'll select "Customer List." This process doesn't require the Facebook pixel or app data—just your customer contact information. It's a straightforward setup, even if you've never used Facebook ads. Once here, you're just a few clicks away from launching highly targeted ads.
Upload Your Customer List and Map Data Fields
When you choose "Customer List," Facebook will ask you to upload your file. You can also add value for every customer if you have high-priority customers in mind. Once you upload, Facebook will request that you map the data fields in your file—aligning column names such as "email" or "phone number" with the right field in their system. This is done to ensure proper audience building. Facebook employs this data to pair entries with user profiles. The more accurate your mapping, the greater your match rate. Go over everything slowly, then hit "Import & Create." Your audience will start processing right away.
Wait for Facebook to Process Your List
After uploading your file and mapping the fields, Facebook needs a few minutes to process the data. You'll see the status listed as "Populating" in the Audiences tab. This process usually takes less than an hour but can vary based on the size of your list. Facebook compares your uploaded data with its user base to find matches during this time. Once the audience status changes to "Ready," you can use it in your ad targeting. It's good practice to wait for confirmation before setting up your campaign to ensure maximum reach and accuracy.
Start A New Campaign Using Your Custom Audience
Your new campaign comes in handy now that your custom audience is ready. Go to Ads Manager to set up your campaign. Under the "Ad Set" level, scroll down to the "Audience" section. Select "Custom Audiences" and choose the one you just created. It tells Facebook to serve your ad only to the user on that list. More targeting options like age, gender, or location can be layered. Targeting those who know your brand already will lead to better engagement and conversion, thereby providing better value for your ad spend.
Create a Lookalike Audience to Find New People
One of the best features of Facebook Custom Audiences is the ability to create Lookalike Audiences. Once you have uploaded your customer list, Facebook can find people with similar characteristics and behavior. Head back to the "Audiences" section, click on "Create Audience," and select "Lookalike Audience." Choose your custom audience as a source, then select the country and size of your target audience. The smaller the percentage (1% being the closest), the more similar the users will be to your customers. This is an incredible way to widen your reach while targeting individuals likely to convert.

Update Your Customer List Periodically
For optimum performance, refresh your custom audience periodically. When you acquire new customers or have changed contact details, re-import the most recent version of your list. Facebook allows you to swap out or supplement your current custom audience. It keeps you in touch with recent customers or leads and ensures you have an up-to-date targeting pool. An outdated list may result in lessened engagement or ineffective ad spending. Set a reminder to update your list monthly or after a major campaign. The more current your data, the better your ads will perform and the more you'll get out of your marketing efforts.
Conclusion
Targeting your customer list to build Facebook Custom Audiences is a compelling method to boost ad performance and reach users who already have confidence in your brand. From uploading clean data to building Lookalike Audiences, every step makes a difference in targeting smarter and spending less. You can use custom audiences when running a sale, product launch, or simply creating awareness. Custom audiences put you in front with warm leads. With these seven simple steps, beginners can make the most of Facebook's advertisement targeting features. Begin using your current customer information now and see your campaign results boost significantly with little effort.
On this page
Prepare Your Customer List for Upload Go to Facebook Ads Manager and Select Audiences Upload Your Customer List and Map Data Fields Wait for Facebook to Process Your List Start A New Campaign Using Your Custom Audience Create a Lookalike Audience to Find New People Update Your Customer List Periodically ConclusionAdvertisement
Related Articles

Simplifying Workflows with Online Document Editors

The 8 Best Email Apps for iPhone in 2025 to Keep You on Top of Things

The 5 Best Hootsuite Alternatives in 2025 for Easier Social Media Management

Beyond QuickBooks: 10 Fresh Alternatives to Elevate Your Accounting Game in 2025
Google Chat vs. Slack: Which Collaboration Tool Suits Your Business Best

Best AVI Resizer Tools to Resize AVI Videos Without Losing Quality

Building Flexible Online Tools: The Power of Responsive Design
What is a GitHub Repository and How to Delete One in 2025

How to Easily Transfer All Videos and Audio to Your iPod

Top Dictation Software to Try in 2025 for Seamless Speech-to-Text Conversion

The 7 Best Pipedrive Alternatives in 2025 for Streamlined Sales and CRM Control